Here we are! Week three…the midpoint…already! I cannot believe how quickly these challenges go. Just when I think I’m golden and everything is working out and lining up great for the big reveal, I get thrown a wrench.
This weeks focus was on adding architectural details to the space. You can revisit the plans from week one here. What better way to add interest to the space than to cover up that lovely textured ceiling that I affectionally call BUGS. It looks like a bunch of bugs to me. The thing that gets me is that when we built this house, I had a choice on the ceiling texture. I have no idea why I thought this texture was fine. PALM TO FOREHEAD.
I digress.
Check out the current status of the ceiling.
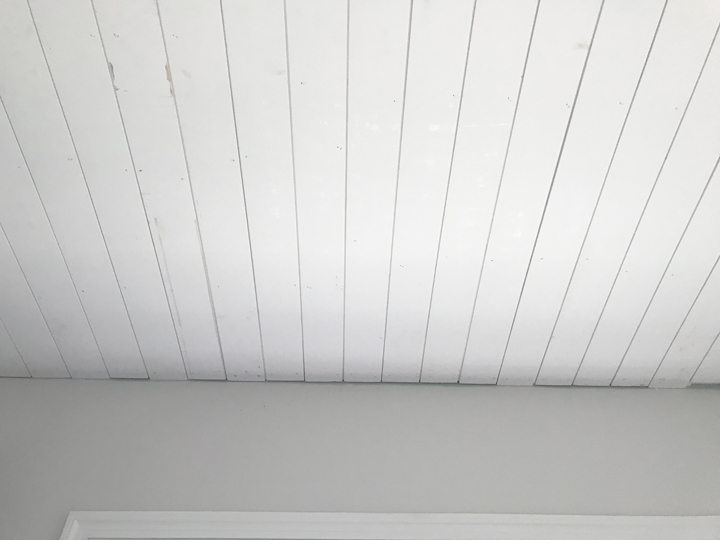
Of course, there’s still work to be done. The ceiling joists do not run perpendicular to the shiplap, so I had to use liquid glue and finishing nails to hold these bad boys up. Luckily the walls were pretty square so I was able to batch cut most of the boards.
Until I got to the angled wall. I have to say I was really worried about the angled wall. Me and angles don’t always get along. But it ended up being much easier that I thought it would. It took a while to do those last 6 or 7 boards. But it’s up and I know I’m going to love it when it is finished.
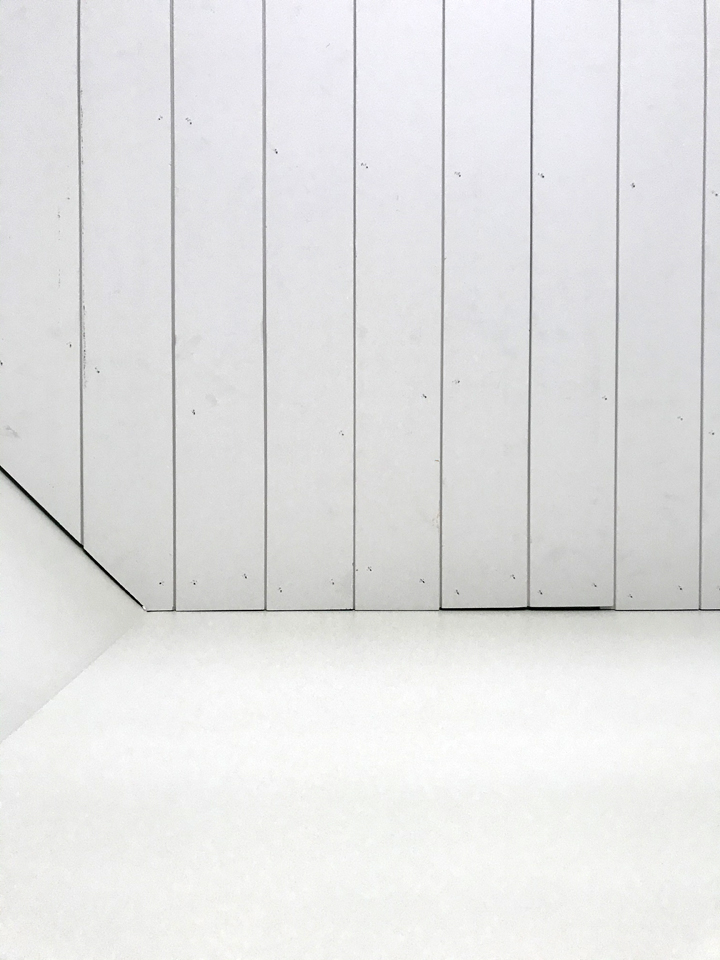
Check out that angle. Not too shabby!
Here’s where that wrench comes into play. I finished the shiplap and was all ready to work on the ceiling trim, so it looks all pretty. I went online to order my boards for pickup. No go. Can’t do pickup because they are linear boards…blah blah blah. Anyway, the point is I have to go into the store to get them which is fine, but then it started raining and has rained every day since. Now, that wouldn’t normally be a big deal, except I have a Jeep and the boards will have to hang out the back window. Not so good.
The saga continues. I still do not have the boards. But the weather looks good for today…Yeah! So I will be getting over to pick up those boards.
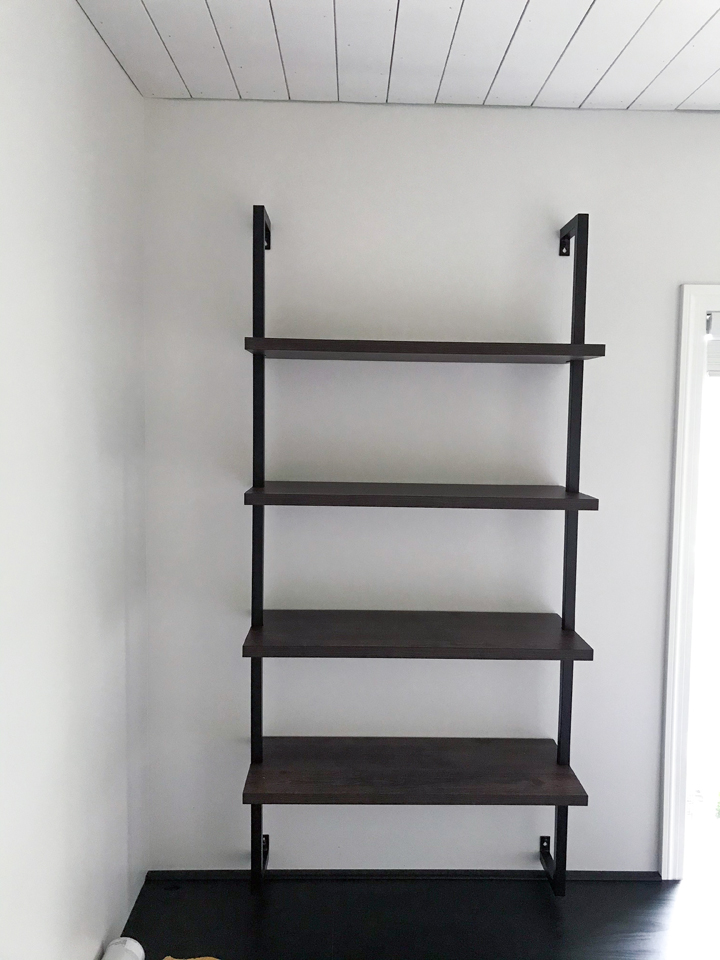
I did, however, install the shelf. Even though it does not make sense to install it before the trim is done. But I couldn’t resist. And I love it! It’s perfect. It fills the space so nicely and really emphasizes the high ceilings. Just picture it with the ceiling all done…can you see it? Oh I can. It’s going to be lovely.
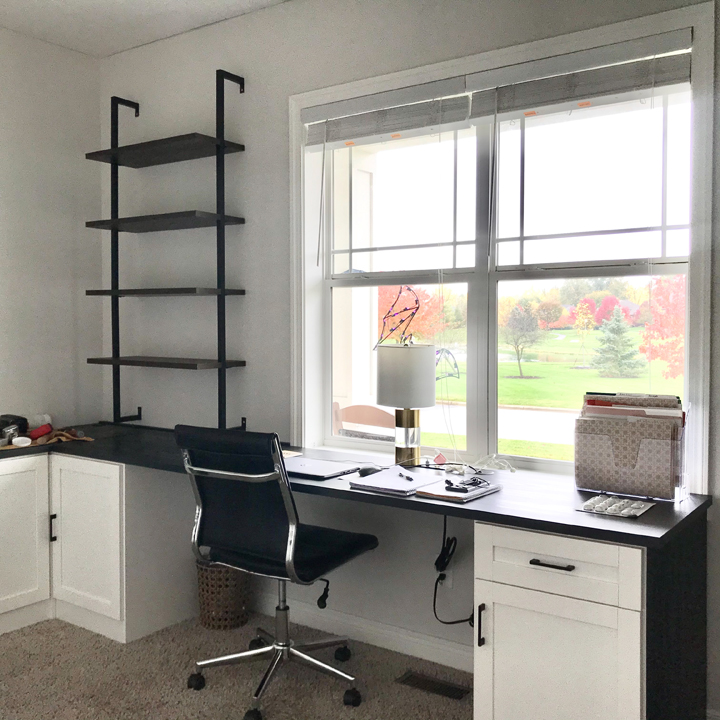
Let’s zoom this out so you can see all the parts working together.

So there you have it. All you ever wanted to know about updating a ceiling. HA! It’s those little details that will make a room. I am a big fan of the details. Please let me know in the comments if you have any questions on exactly how this was done.
Thanks, again, for following along! I’m also
sharing behind the scenes and room progress over on Instagram.
![]()
Follow all the other fabulous participants here.


I love the new ceiling detail and the shelf Amie! Its going to look so good!
Thank you so much! It’s exciting to see it coming together! And functioning so well:)