Welcome back to week six of The One Room Challenge! Last we left off with the cutest wallpaper accent wall. This week her window seat got some much needed attention.
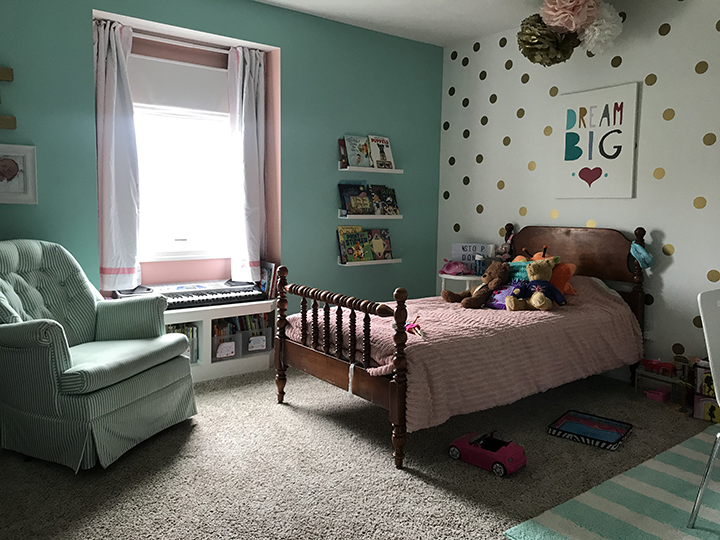 Before
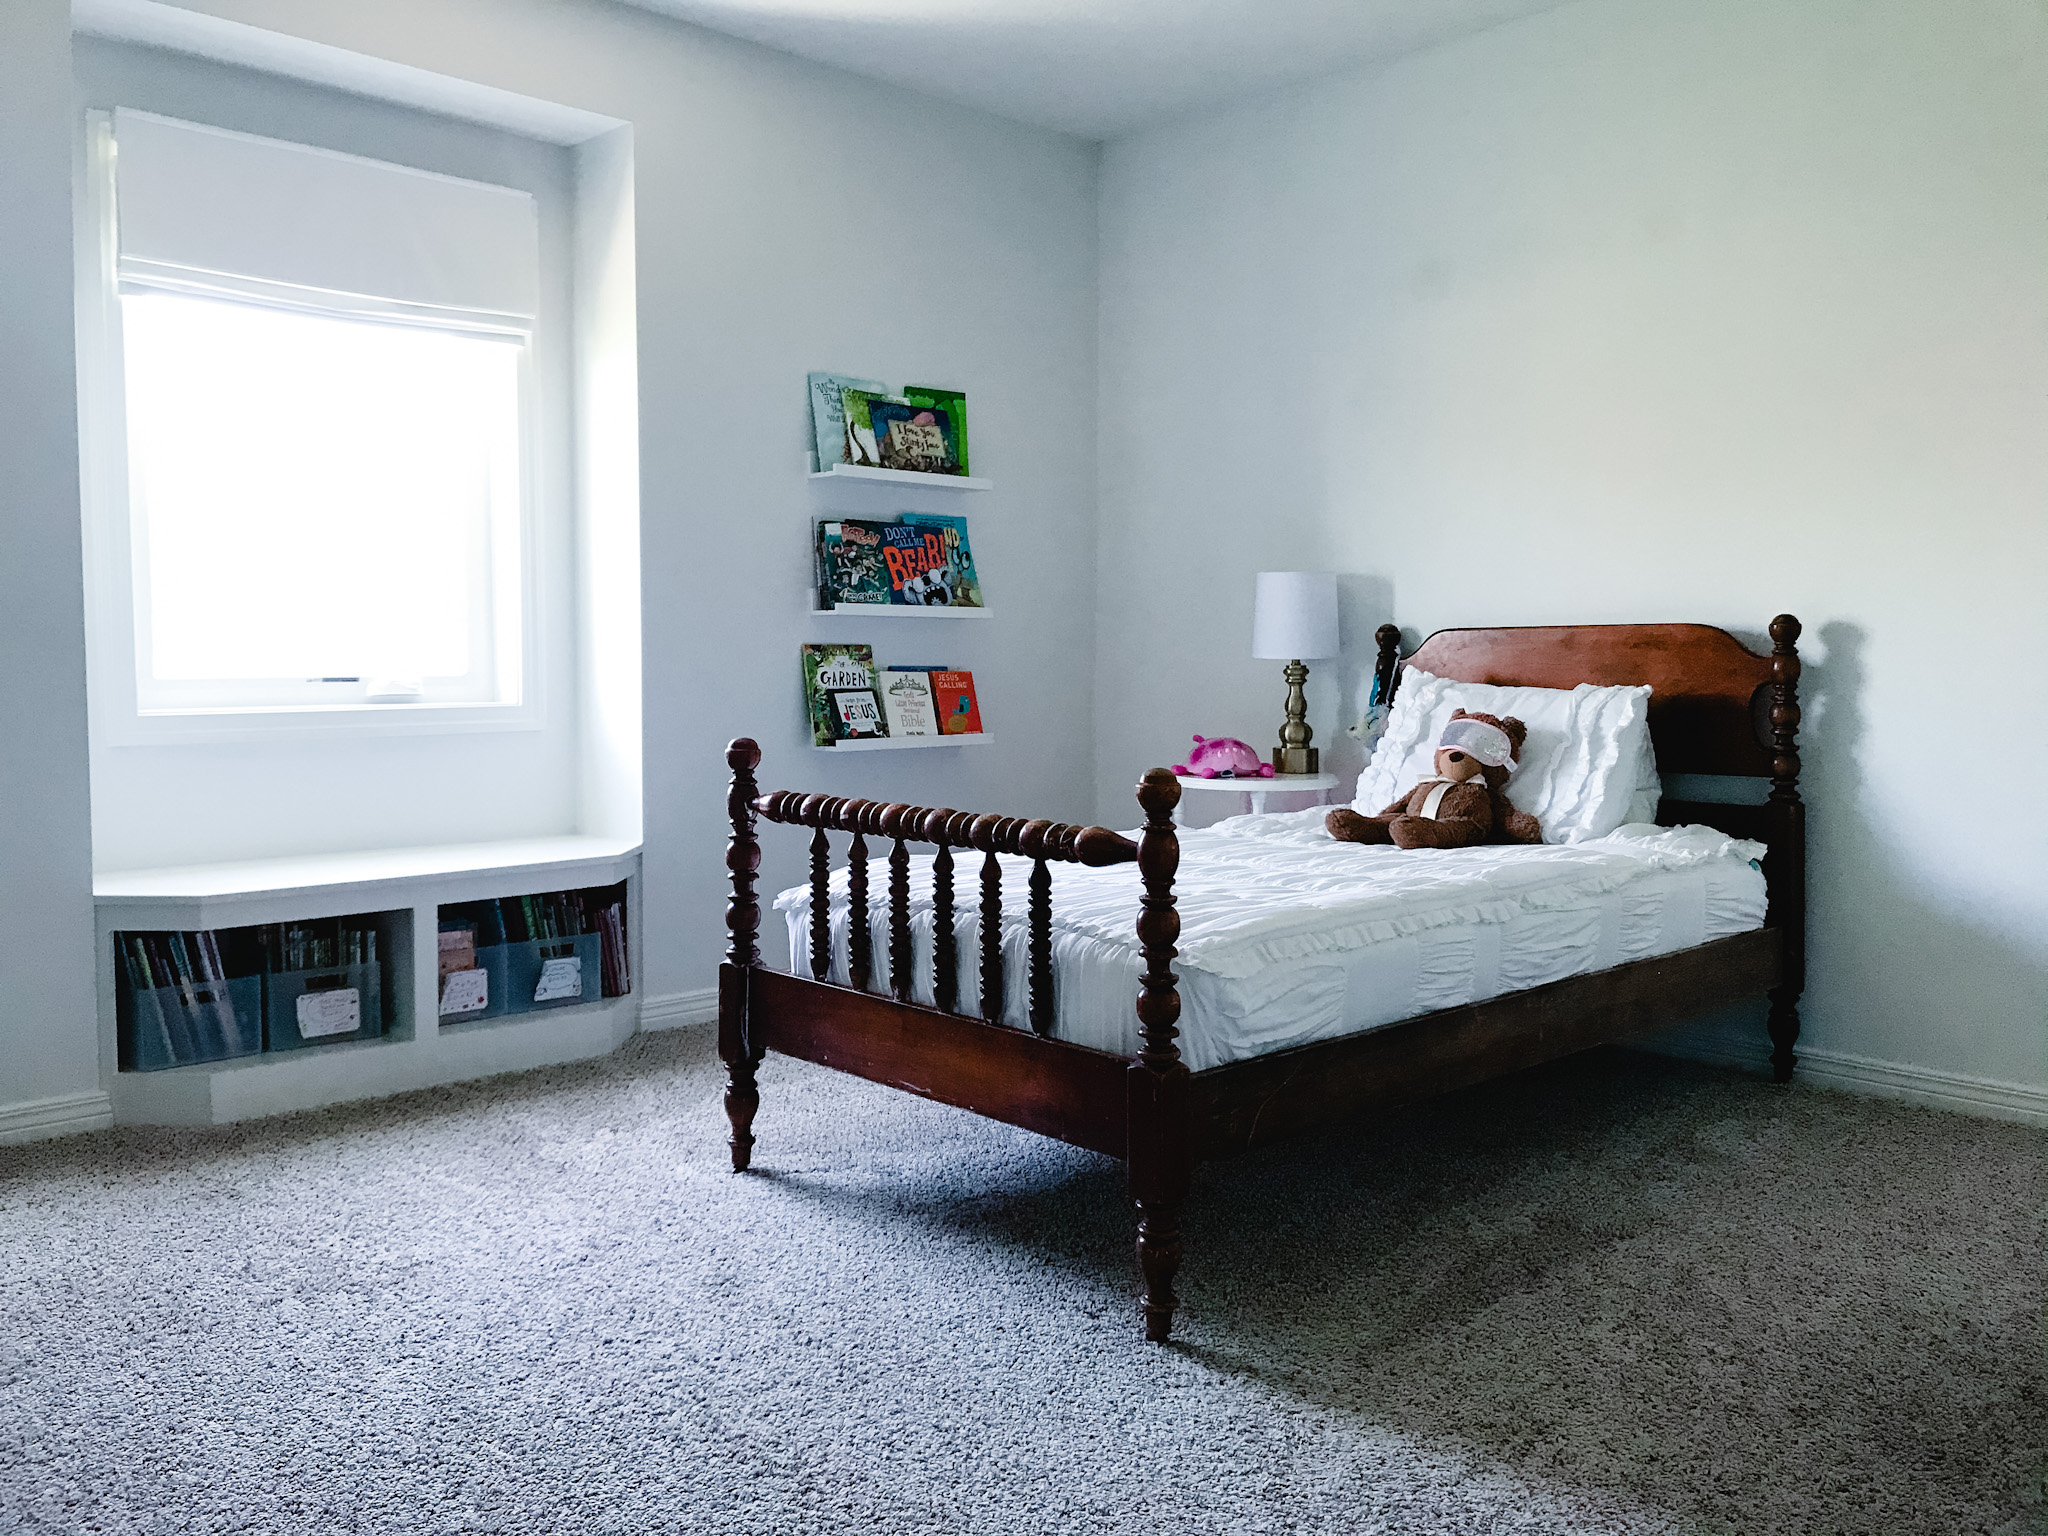 After painting
When we were building this house, I loved that it had added features, like window seats in all the rooms. The options were endless. But I really didn’t put much thought into. All I heard was window seats and my heart took over my mind and I heard nothing else. I mean. YES PLEASE! They asked me if I wanted a lift top bench and all I could think about was the story of my mom’s siblings putting her in the hamper and sitting on it. NOT COOL. Then, they gave me the option to leave it open so we could use the space. That sounded great.
But they never told me it was going to angled and therefore very much not practical. The books and bins you see in there barely fit. You actually have to finagle them out. Not so great for a little one.
In planning out her new room, I wanted to make sure this window seat niche got the love it deserved. I wanted it to be much more functional and comfy for her. Here’s what I was focused on solving and/or adding to the space:
one // A better solution to the window coverings. The curtains were added not that long ago to try to block out the
light that came in from her outside mount roman shade. But I never liked the way they looked.
two // A window seat cushion. I always wanted to add one, but just never took the time to get it done.
three // Close off the open shelves.
four // Give it a little extra something to make it special.
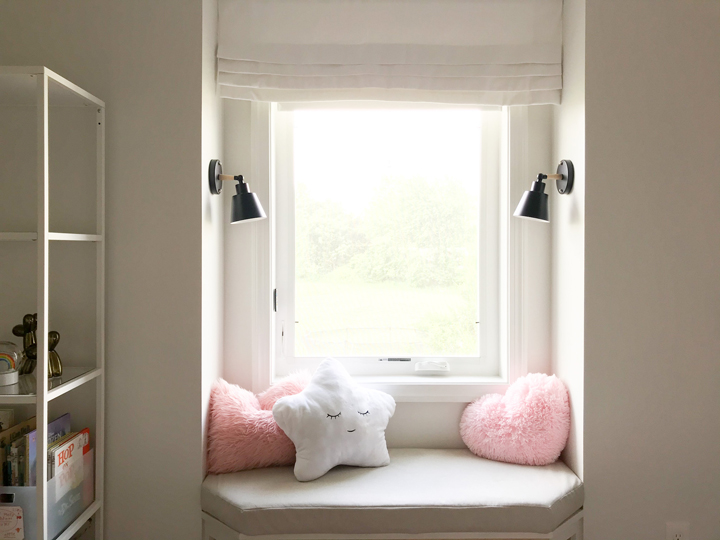
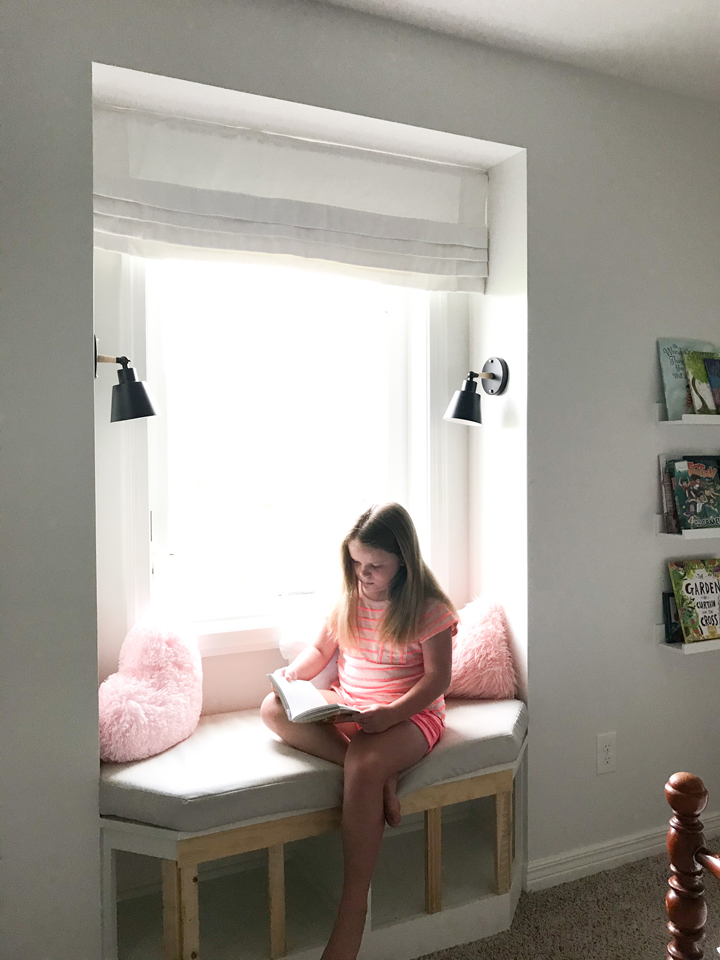
And because I can’t wait any longer. Here is the window seat niche now.

EEK!
Ok. Let’s break this down.
I decided on a double layer window treatment. I purchased a basic blackout roller shade and layered a faux (stationary) Roman shade over it. This allowed me to get the light blocking we needed while also allowing me to hang the faux shade as high up in the niche as possible…making the window appear larger. When the roller shade is fully retracted, it is hidden up under the faux Roman shade.
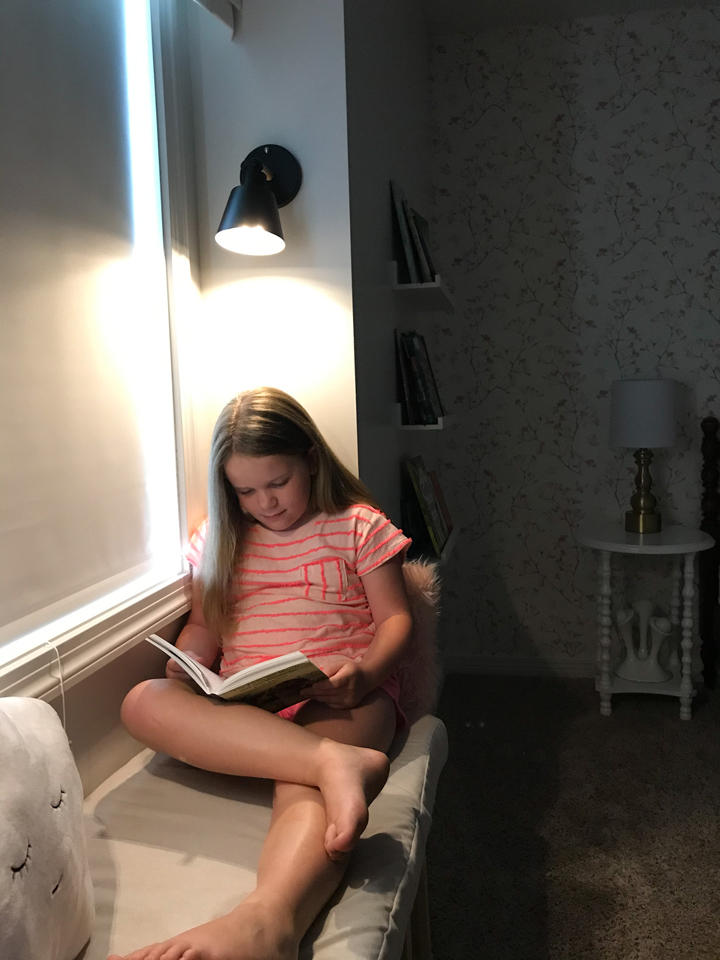
The window seat is perfection. The angles were making me a bit nervous because this was ordered during quarantine and I took the measurements myself, so if they were wrong it was all me. I triple checked those measurements and drew up a nice little diagram and it could not fit better. The little one loves it and spends a ton of time hanging out in her window seat now. I mean…love…I can’t handle the cuteness.

Now on to that idea of closing up the window seat. This is the current status of that project…
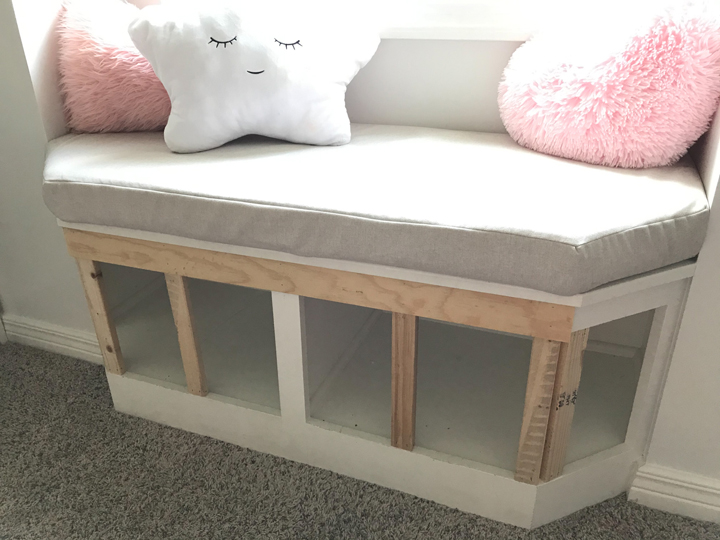
Yeah. Not exactly done. I teased the little one that it was a little cage…HA!
There are a few problems that I mulled over and it caused my brain to hurt. Ignore that I was trying to make this project work without having a table saw…hence no mitre cuts on the angles.
The top of the seat is longer than the bottom…by over an inch. I have no words and no solution to how to get this done. So I have a call in to a friend to see if he has any ideas. This project is getting done one way or another. I need to do some more research to see how to solve that problem. The easiest is probably to just get a table saw and finish it the way I was originally planning to. But table saws make me nervous. I need to be a big girl and just do it. Safely of course. But there’s still the problem that it is not plumb…this is why my brain hurts. I’m probably going to need to build the base out and make it plumb. I need someone else to do the math for me!
Lastly, we get to that extra special part of my list.
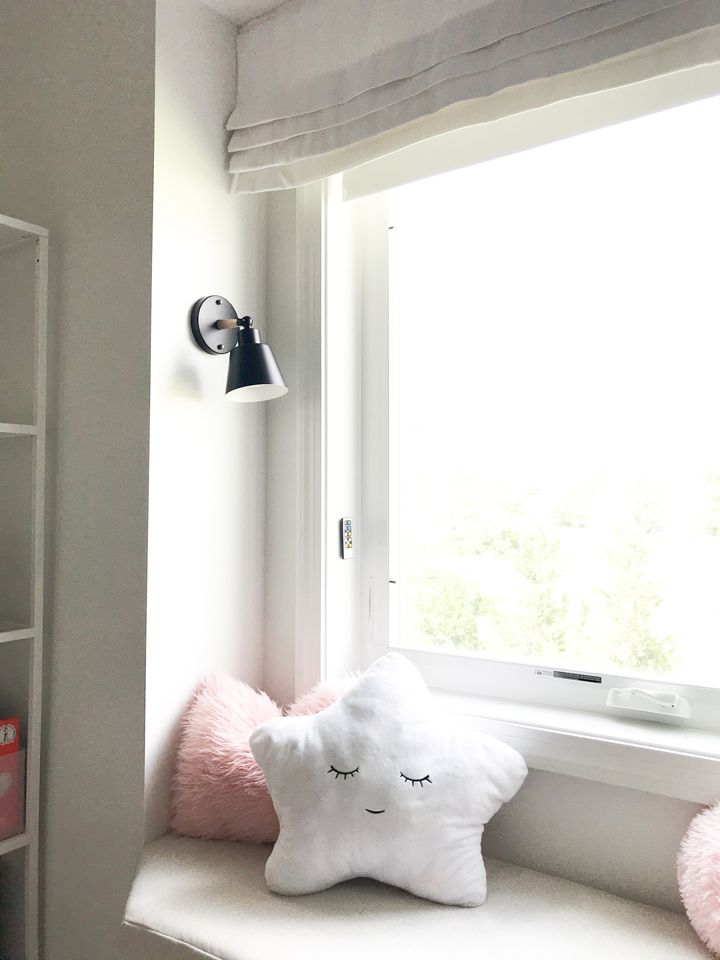
I used the Magic Light Trick by Nesting with Grace. You can read all about that here. Basically you use a puck light in the sconce, giving you light without electrical. Seriously genius. I will be doing this all over my house. That’s a promise. The little one is loving playing with that remote. I hung the remote in the window sill with 3M velcro.
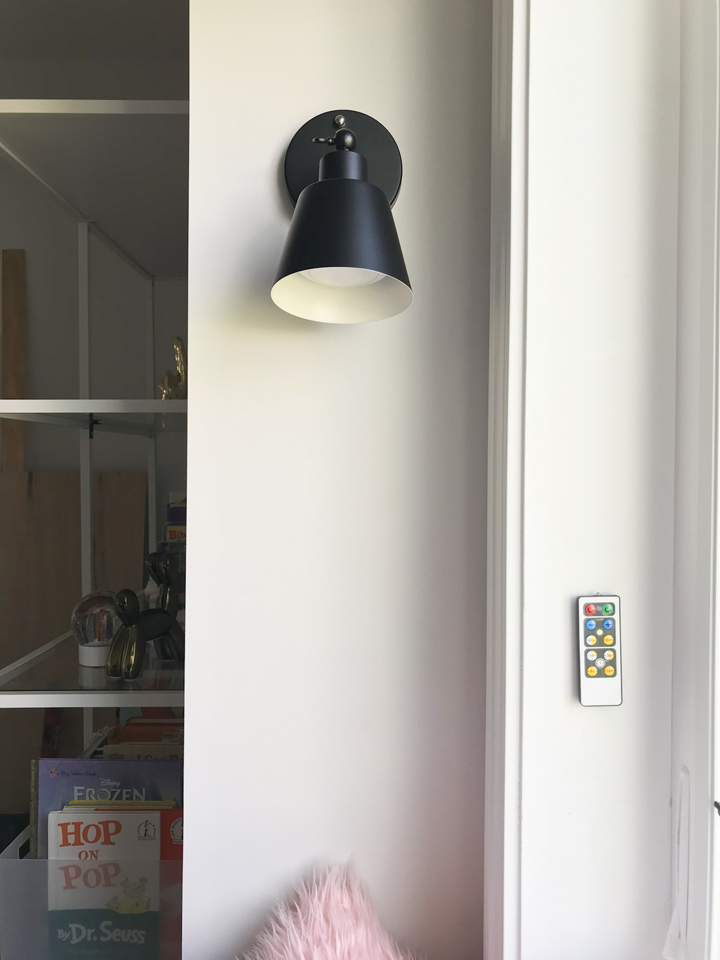
The sconces are so fun and really add that little bit of extra that I was looking for.
One last shot. Just squint your eyes and image the window seat finished, ok?
It’s really starting to come together now. The little is so excited. She made up a little ditty that went something like this…My room is the best do do do-do…repeat over and over while doing an awesome dance. That’s a pretty good review if you ask me.
Thanks for joining me! Don’t miss what everyone else has been up to! Check it out here.
![]()


This is so so sweet!! What a beautiful little reading nook.
Thank you! She is loving it and I find her up there all the time, just chillin’ and hanging out.
I wish I grew up with a room this sweet!
Aw that’s so sweet! Thank you. She is pretty lucky her mama loves decorating!
What an awesome space!! I love the window seat and the pretty wallpaper. What a lucky girl!
Thank you so much! She is really loving it and keeps telling me she loves her big girl room!
That angled window seat does look tricky! I’m wondering if you could build out the bottom – or maybe install the same baseboards on the build-out (and if it would sort of match with the top better?). Or, if you’re completely getting rid of the storage there, just installing panels on top of the whole thing so that the top lip isn’t as sticky-outie. I’ll check back and see what you come up with 🙂
I was thinking of building out the base. I do like your idea of making it even with the overhang. I think you have given me some great ideas….now my mind is is working again! Thank you!
This is looking so adorable and the best part of all is how much your little girl loves her *big girl* bedroom. It is always so amazing to me how much design can impact how we perceive ourselves.
I look forward to seeing your solution for the rest of the window seat!
Thank you Leslie! It is fun to design impact our lives. I think I have a solution to the window seat dilemma.
It is looking fabulous, Amie! I love the pictures of your daughter on her new windowseat and her glowing endorsement! 🙂
Thank you so much! She is loving it! So cozy now and she really likes playing with her new lights. It’s so cute!
Love that window seat! So excited to see your reveal soon!
Thank you! It’s crunch time now!
It’s been so fun following along this space !