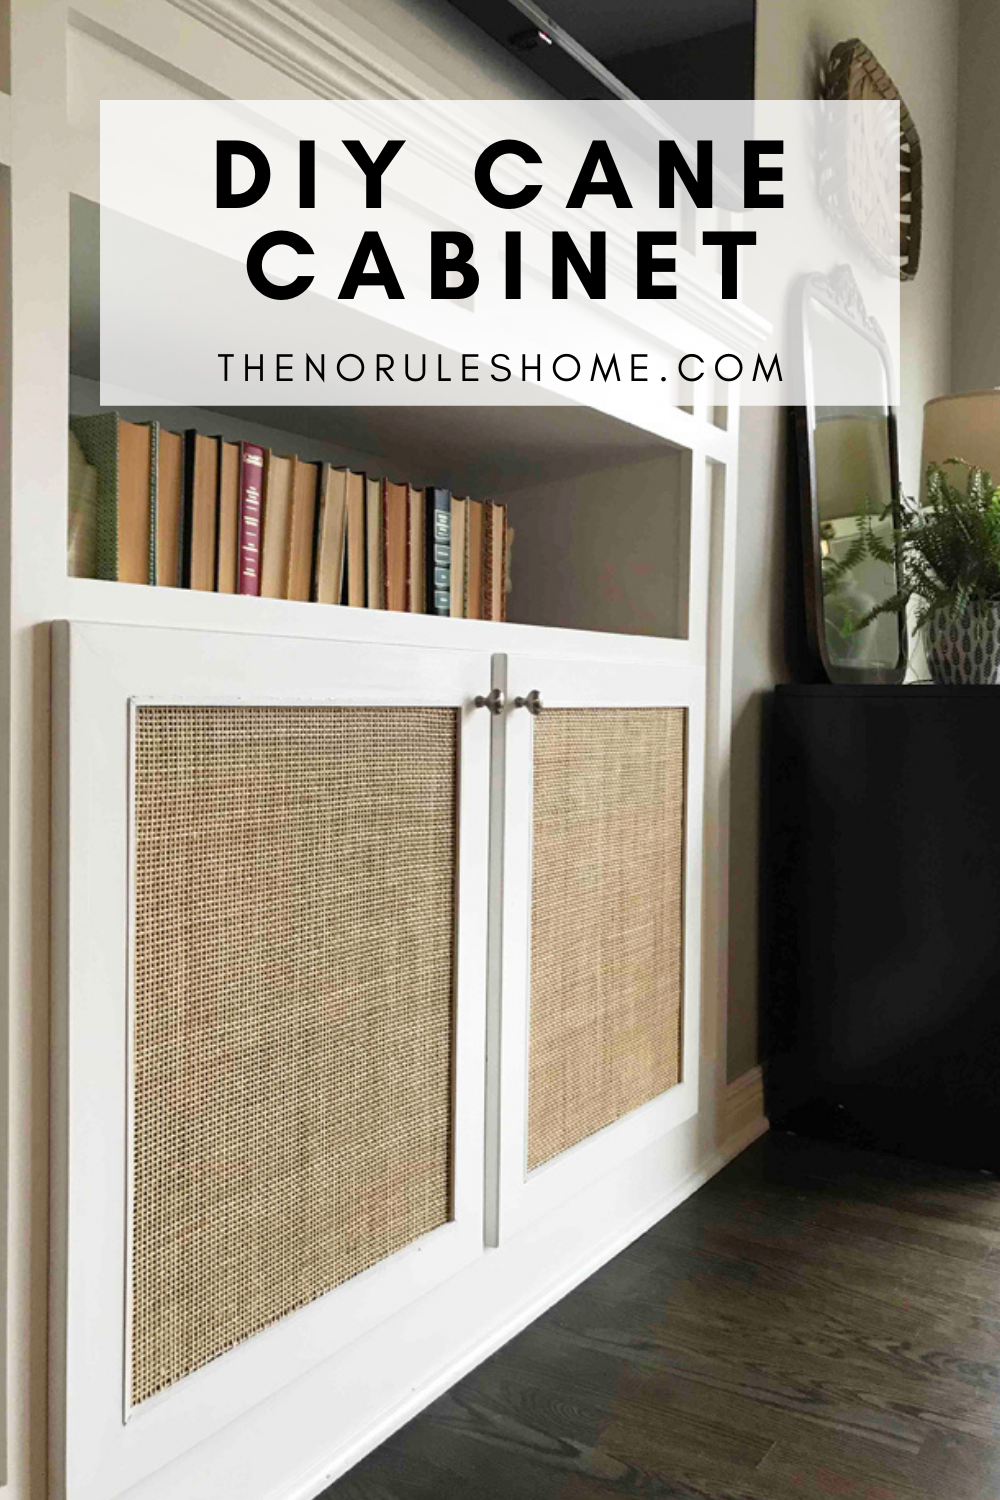
Learn how to upgrade your existing cabinets with this simple DIY cane cabinet makeover!
Let’s do a little DIY cane cabinet, shall we?
For the last several years, I have been focusing on taking the spaces in my home to the next level. I want to add more character in all my new projects. Even when I have completed a room (if that is even a thing), there are elements I know I will eventually change.
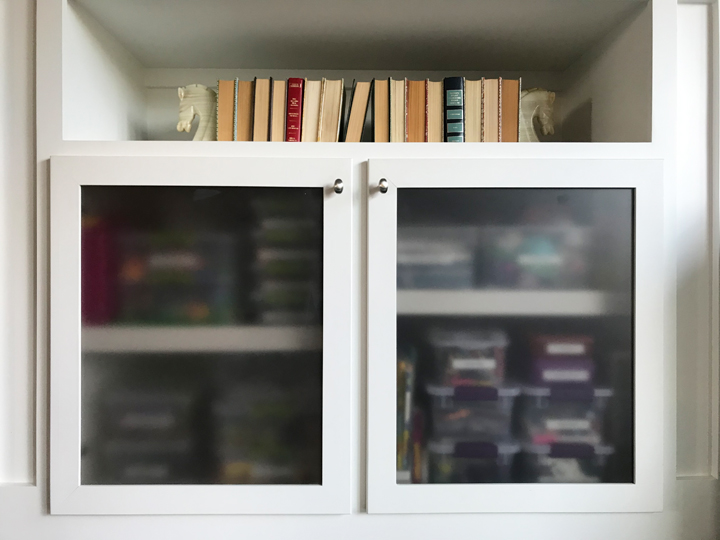
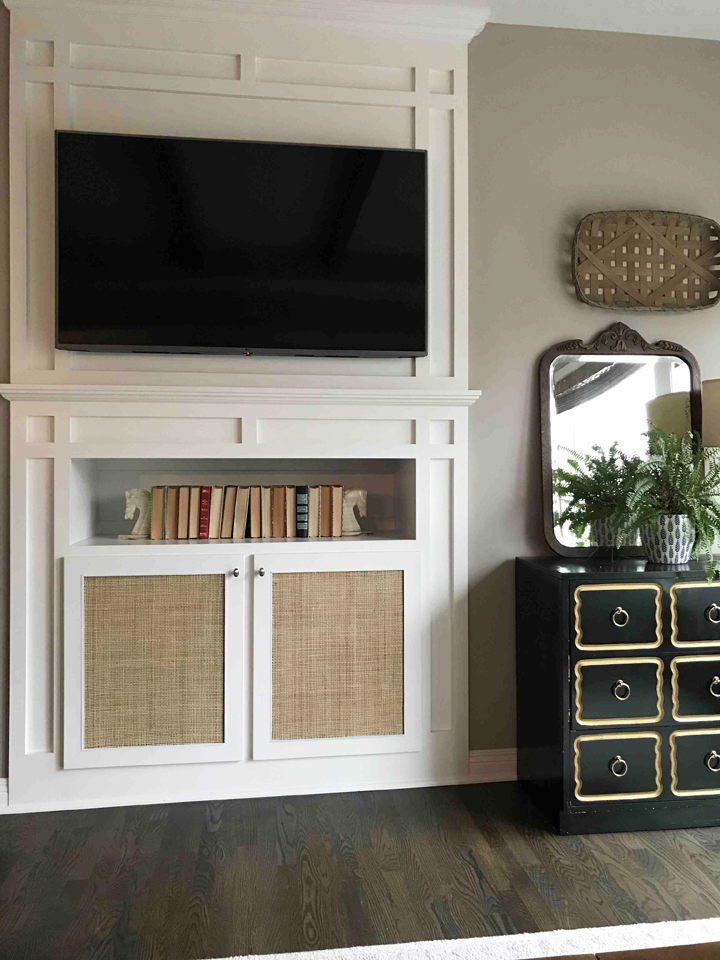
For my great room, that spot was our built-ins under the television. When we built our house, I asked the builder for frosted doors. I wanted the frosted doors to hide what was behind the doors, but still allow remotes to work. Apparently I did not communicate clearly, because the next thing I knew there was TINTED glass in the cabinets. I decided to just live with them, but they were always a problem because I could see the mess in the cabinets.
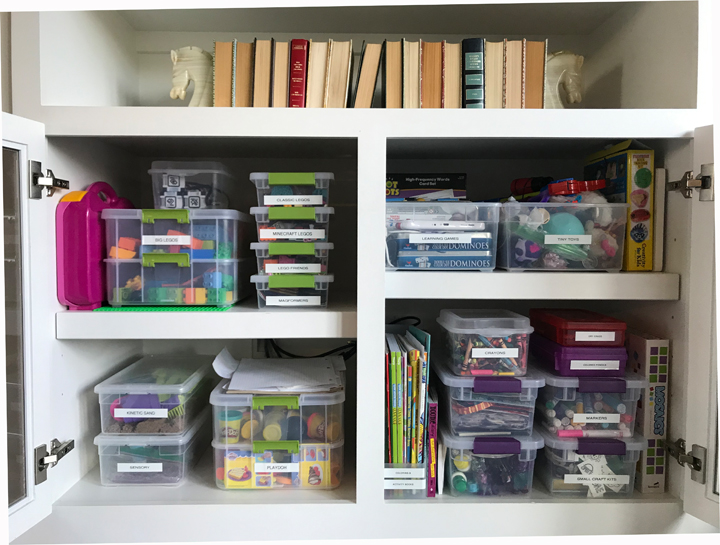 What we are trying to hide…back when it was organized. It does not look like this right now!
For several years I debated what to do. Then suddenly (as is often the case) it was decided – cane! And the DIY cane cabinet was born…ha!
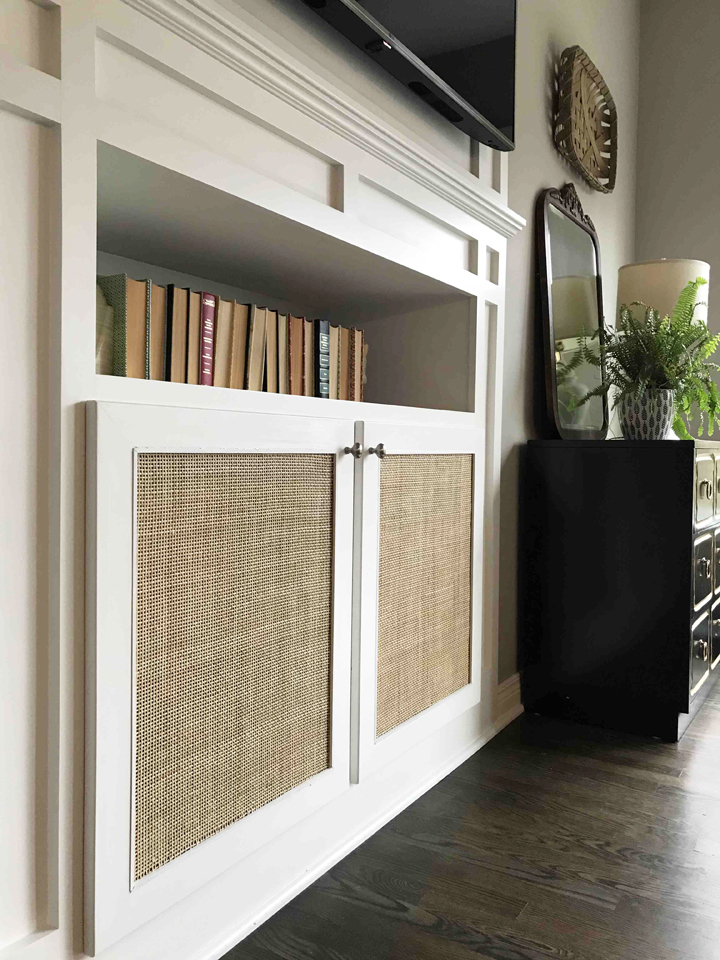
I absolutely love cane. It incorporates into any room beautifully. Cane adds texture to a space and is seen as high end. It is classic, ageless and timeless. This DIY cane cabinet will add classic design to any room.
I would like to say this project was easy, but in reality there were several learning moments. Hopefully my pain will make things easier for you should you decide to do a similar project in your home.
DIY CANE CABINET HOW TO: Abbreviated
The doors on the cabinet are somewhat large and I was afraid that if I removed the glass they would be less sturdy. So I added the cane over the glass. I did this over glass doors, but you can easily do this over inset wood doors as well.
Please note: As an Amazon Associate I earn from qualifying purchases.
This post contains affiliate links. If you click and make a purchase,
I may receive a commission at no extra cost to you. Thank you!
Materials
- Caning (I used this, but here’s another option)
- Glue (I used this glue)
- Trim (I used these)
- Paint to match your door
There are several tutorials on this type of project. I will attempt to explain how I added the cane to the cabinet. However, I am not a tutorial blogger. If you have any questions, please leave them in the comments. I promise I will try to be better in the future!
 Don’t worry about any little booboos, no one will see them but you.
Case in point: Can you see this little oopsie in any other photo?
Steps
- Remove the doors
- Clean the doors
- Soak the cane just to make it lay flat, you aren’t going to be stretching it for this process.
- Lay the cane out to dry out some. Water does not play nice with the glue. Weigh the cane down with cans to keep it flat while it dries a bit.
- Cut the cane to fit your opening.
- Apply glue to your glass. After some trial and error, I would put a bead of glue around the outer edge and then make an x across the center. You can tack down additional placed later if you need to.
- Adhere the cane to the glass. Again, weigh it down with cans to keep it flat.
- Glue trim to the edges to cover up the gap and give it a nice clean look. I used a hot glue gun for this, but you could use the gorilla glue again.
- Paint the trim to match your doors.
- Reattach the doors.
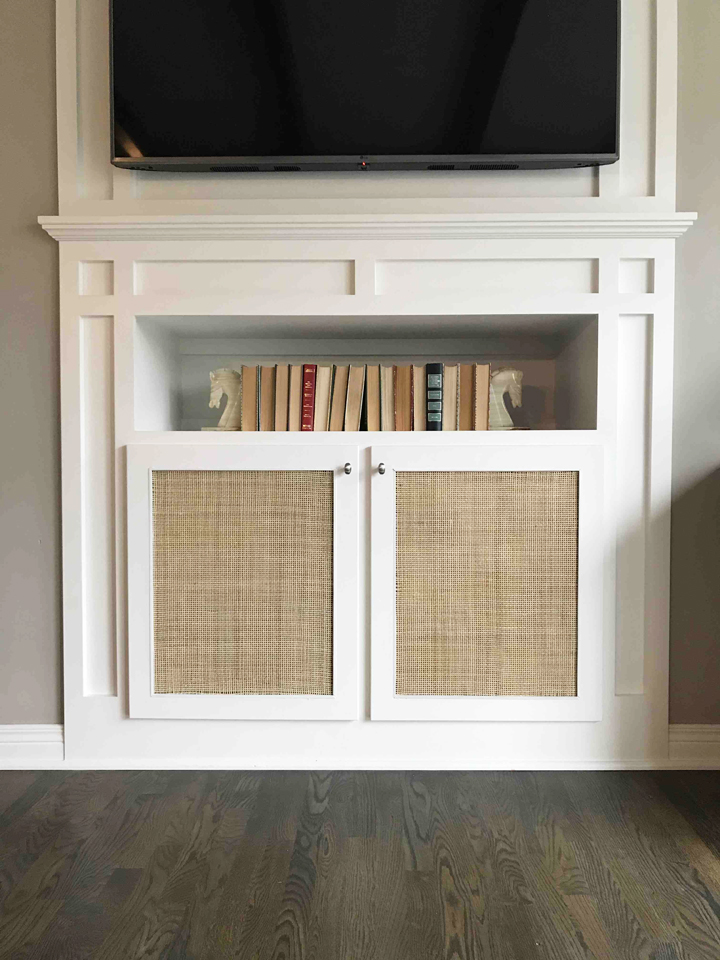
Voila! Beautiful cane cabinets! And I can no longer see the clutter behind the doors. Winner winner!
If you want more DIY makeover ideas, you can find more here:
- MINI-MAKEOVER MONDAY: FIREPLACE UPDATE
- ONE ROOM CHALLENGE – WEEK SEVEN: BIG GIRL ROOM MAKEOVER, THE BED


This came out GREAT, Amie! I love the added texture in the room as well as the ability to cover the stuff in the cabinets!
Thank you! It was a perfect solution to a problem for sure!
What a beautiful transformation Amie! Love it!
Thank you! We love it too! My husband asked me the other day if it was weird to show our bathroom to everyone that comes to our house🤣
Wow, that came out beautifully! What a great idea.
Thank you so much!
BRILLIANT post! I’m looking around my house right now, hoping to find something that needs cane! It’s a pretty material.
Thank you so much! Hope you find something! It’s a fun project for sure.
This is a beautifully done diy! The caning is a great texture to add to the room.
Thank you so much! I’m very happy with it.