How many of you are making lists of organization projects now that Christmas is put away? I know. Me too! So I thought it would be nice to share with you how I finally got our master closet organized and functioning well.
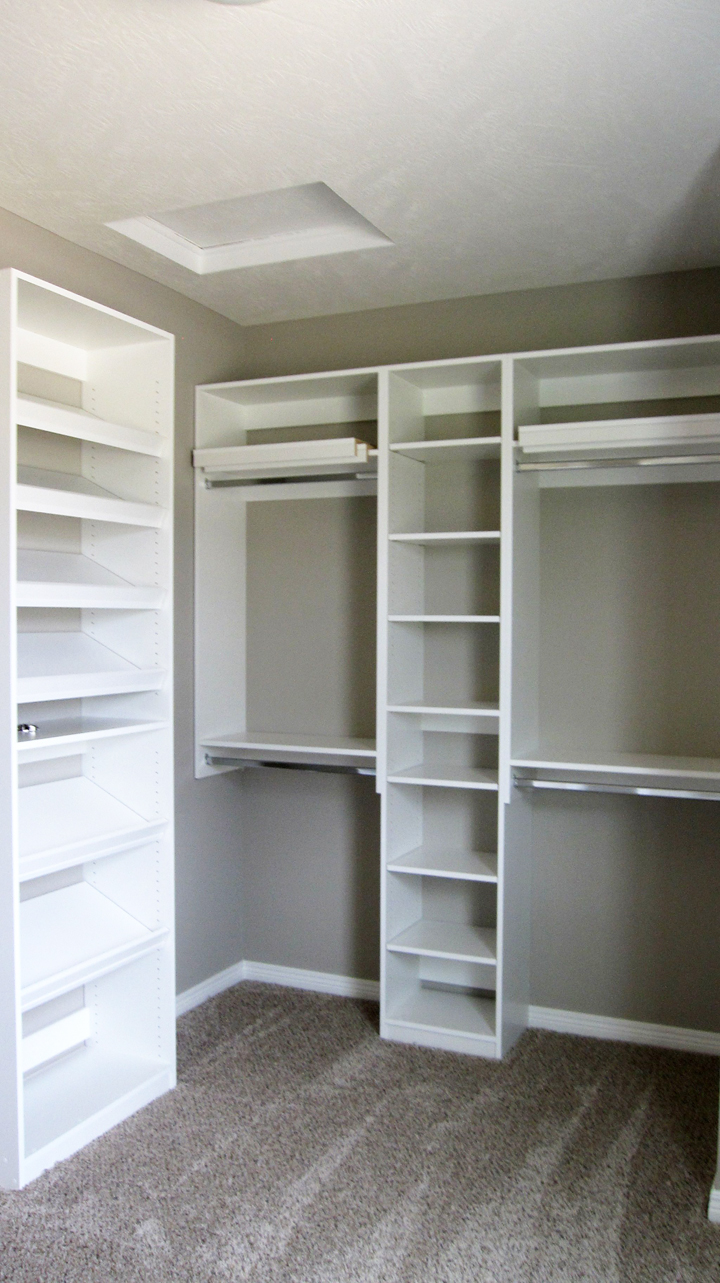
Before we moved in.
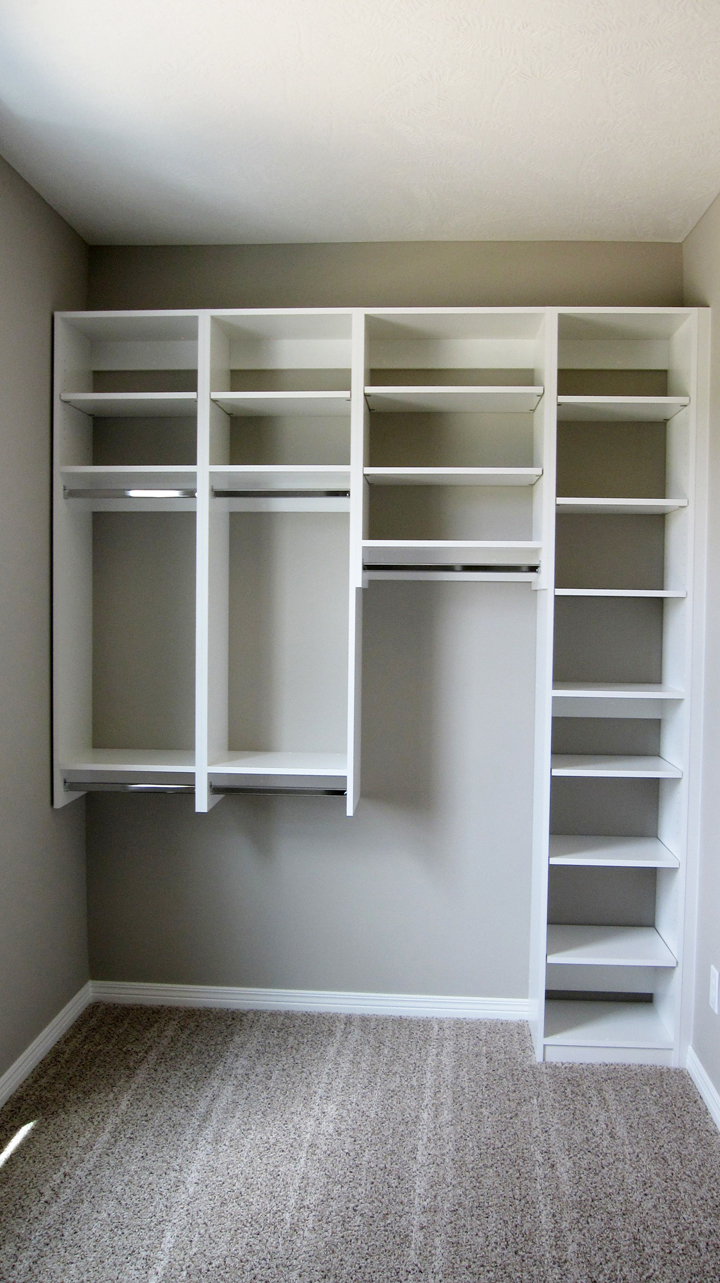
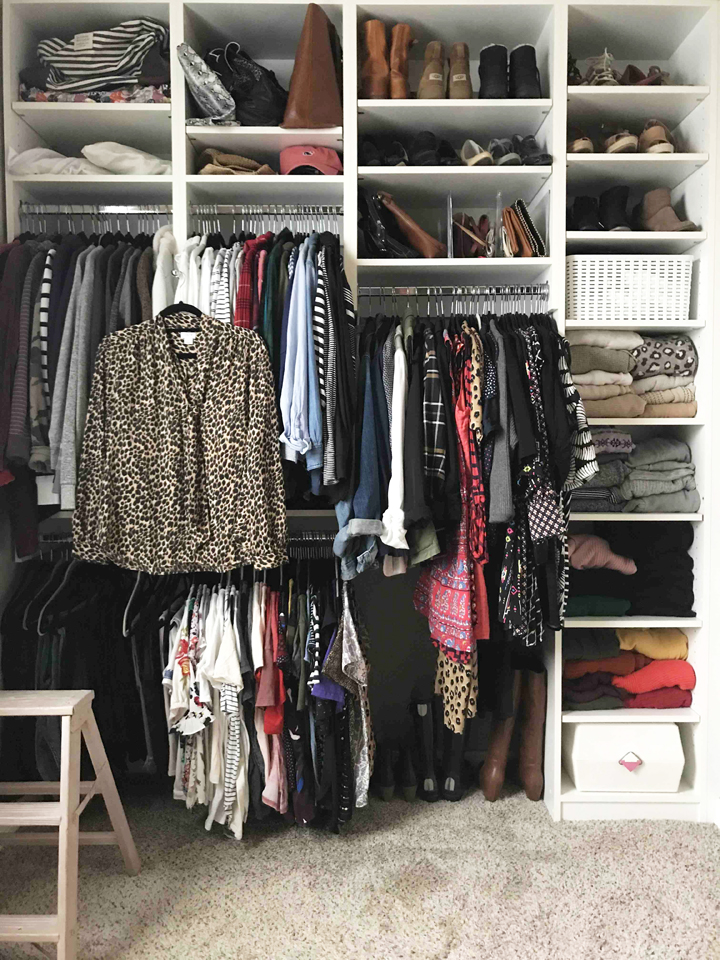
While our closet had nice bones, everything was just thrown in there without much thought. I don’t have a picture, but you can picture it I’m sure. It was a disaster…your typical piles, things without a home, and organization that just wasn’t working. So I finally took on the task to make it not only a better organized space, but also prettier…because for me, a space needs to be both. There’s no need to sacrifice one for the other.
Be forewarned. If you are ready to tackle your closet, it did take me several days to complete. First, I purged. Then I pretty much sat in my closet with my computer and searched for solutions. Then I had to wait for the mail! UGH. It took time. But the end result was so worth it. Hopefully these ideas will save you some time!
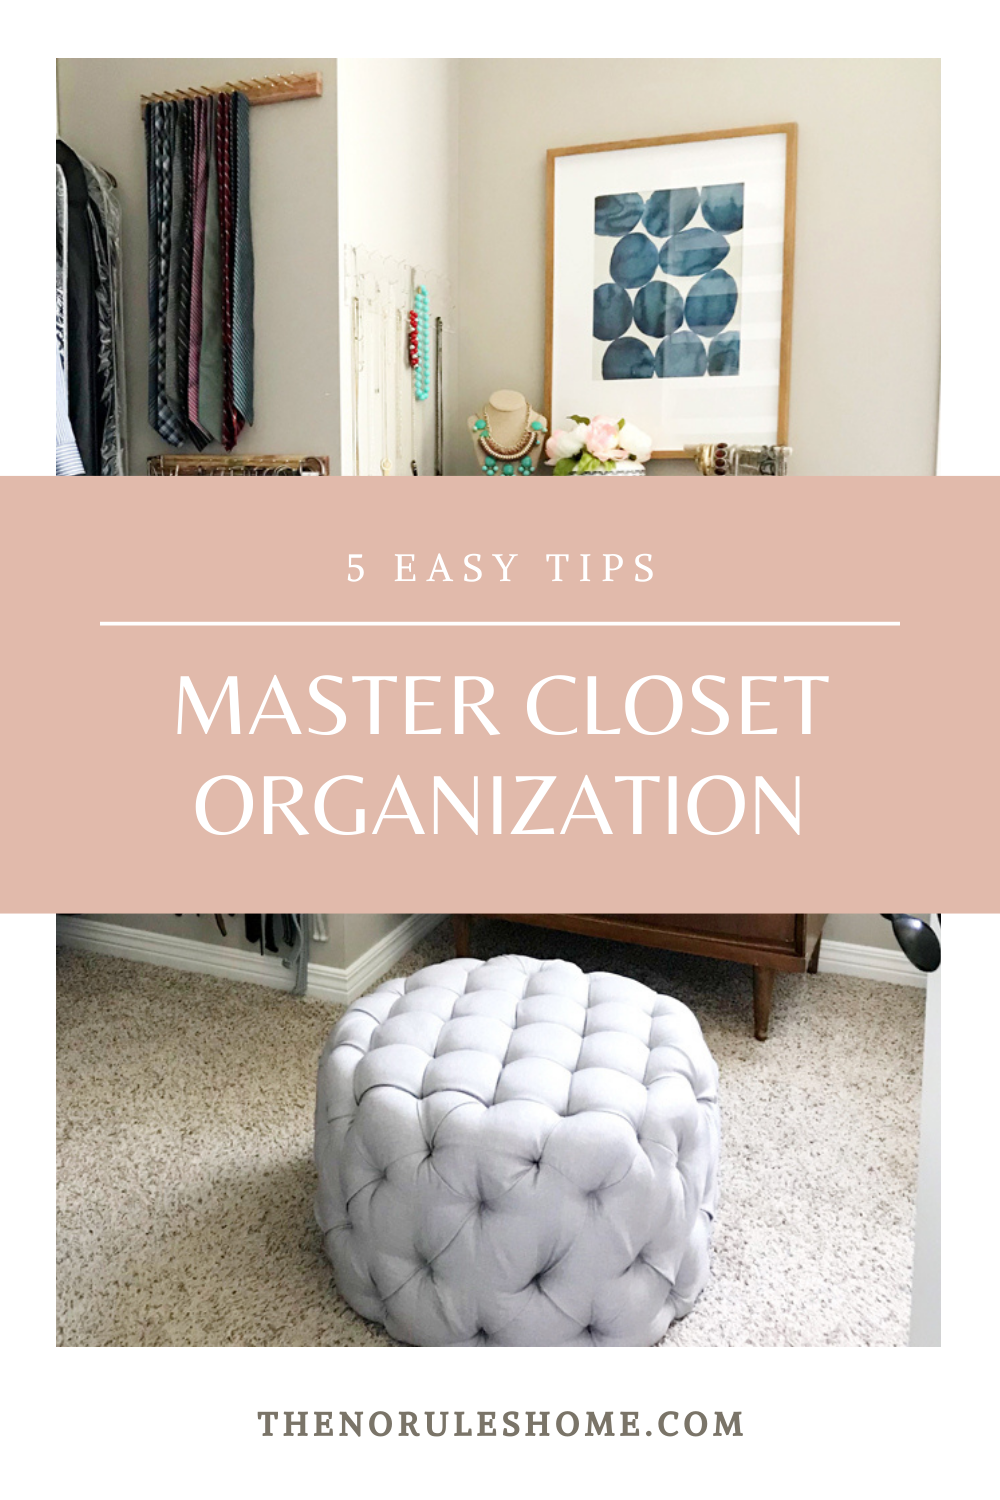
A pretty little view into the closet
This was the most important spot for me to get right. It is a straight shot though our bathroom from our bedroom. So it feels like it is on display. Not that a ton of people are coming in there…ha! I added art and some pretty accessories, but also new jewelry storage. Now it’s beautiful and functional and makes me happy.
 ACRYLIC RACKS | NECKLACE HOLDER | BRACELET HOLDER
Then, I added a ton more organization. Remember, everything needed a designated spot or it was going bye-bye.
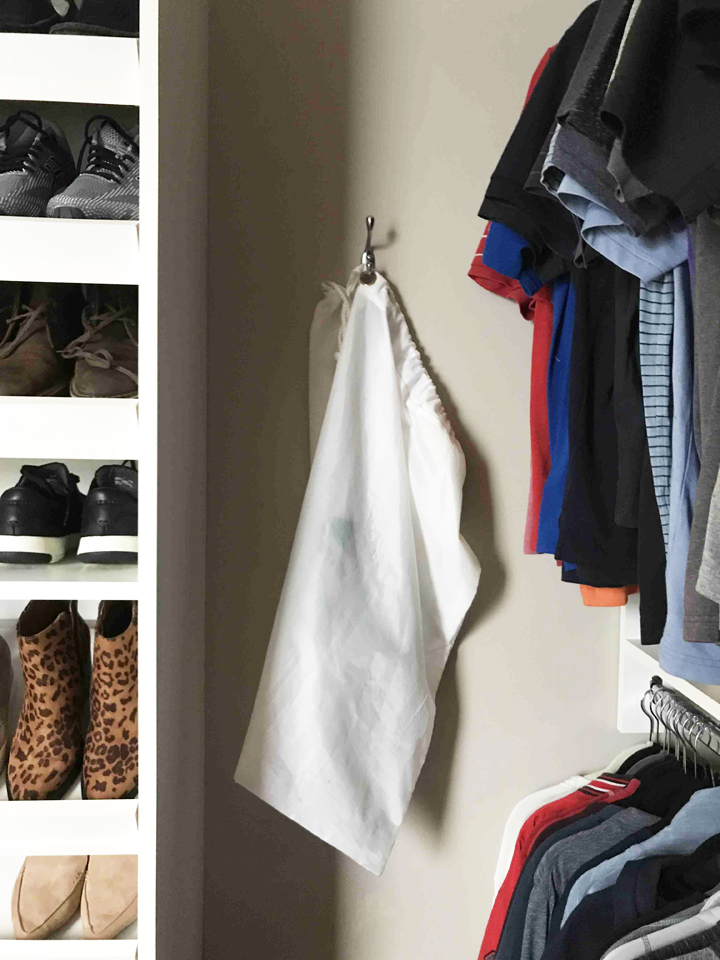
Racks, hooks and bars
I racked my brain on this one…see what I did there? But seriously, this one took some thought. Everything needed a home. I knew I needed tie and belt racks for my husband. Poor dude had all his ties folded up and stuffed away. So when he needed them, they were a mess and needed attention before they were presentable. But I also needed to figure out how to handle the dry cleaning bag and all the hangers that need recycling from said dry cleaning. This was my pain point.
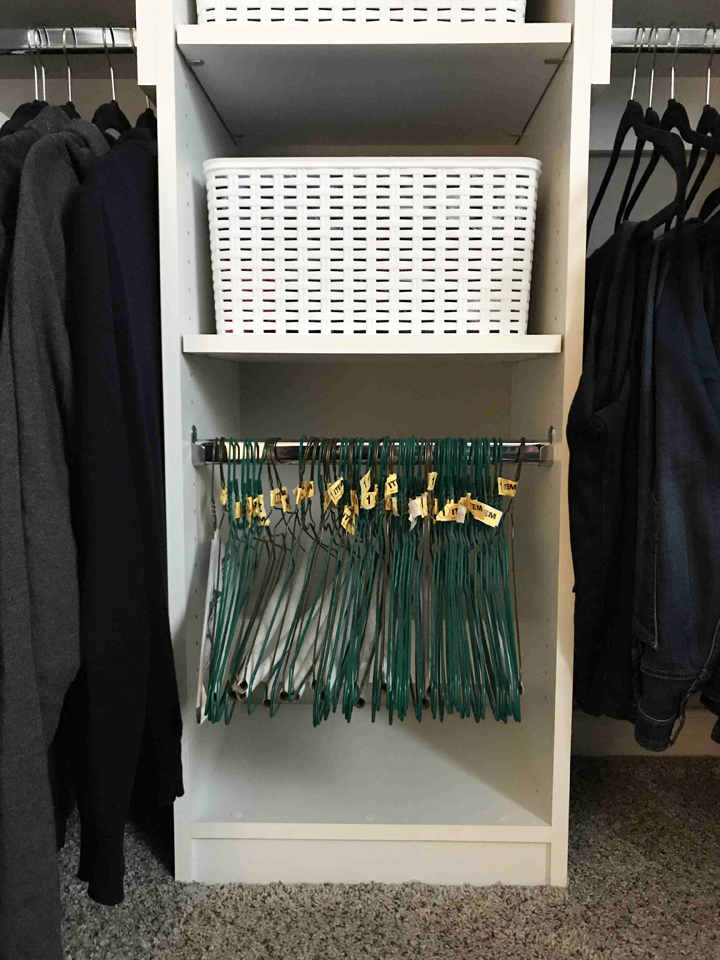
A little hidden nook for the dry cleaning and rod for the hangers.
I ordered the same rod from our closet system, cut it down, and placed it in the lowest cubby on my husbands side of the closet. This cubby wasn’t getting much use because we have old backs…HA!
Stacked some racks for ties and belts
Added valet rods to both sides of closet

 I spy a circa 1990’s Caboodles, oh ya!
Rainbows make for a nice organized closet
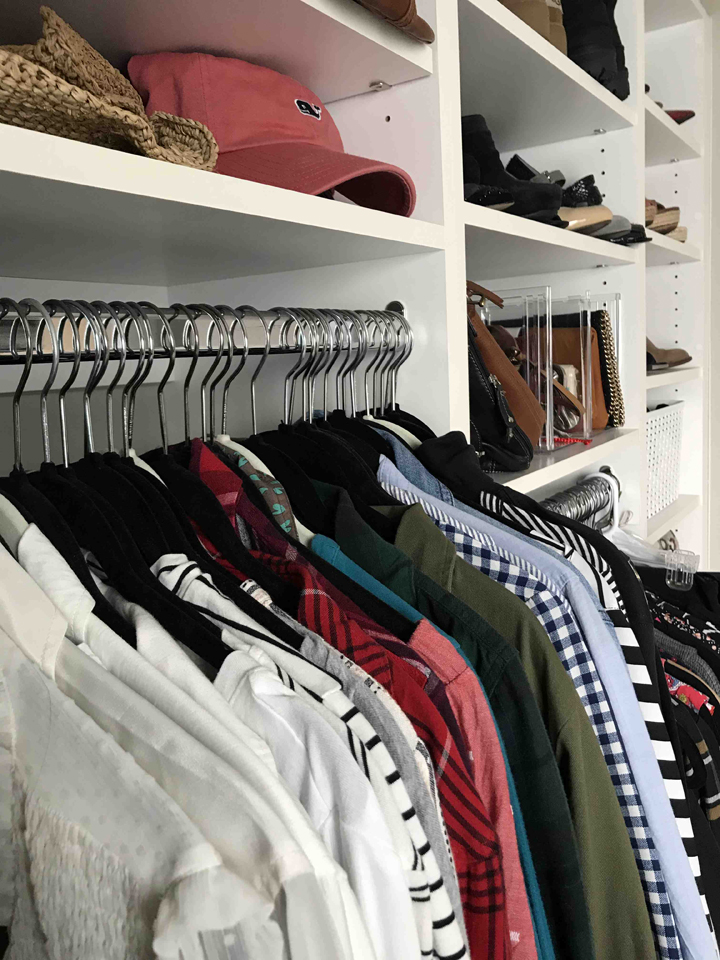
I organized the clothing in rainbow…yes rainbow…and I highly recommend it because it makes life so much easier to find what you are looking for. I even did it for my husbands clothes and he is keeping to it as well. It sounds over the top, but truly, if you want an organized closet, you need to do this.
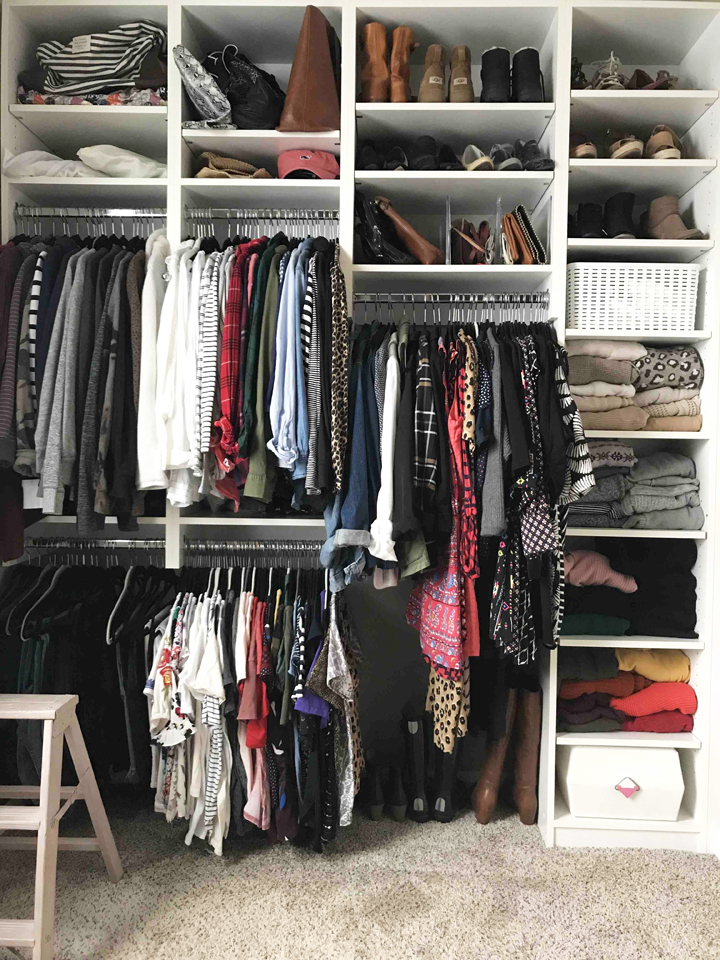
Rearrange the shelves
I finally stepped back and analyzed the shelving situation. Luckily, all our shelves are adjustable. I moved my less used shoes to what were the empty high shelves on my side, which made room for shoes on high rotation to fit on the built in shoe rack. And created spaces for all the other things that were already up on those shelves. Making everything accessible…well at least with a ladder. #shortie
 ACRYLIC DIVIDER FOR CLUTCHES (SIMILAR)
Think about how you use the space
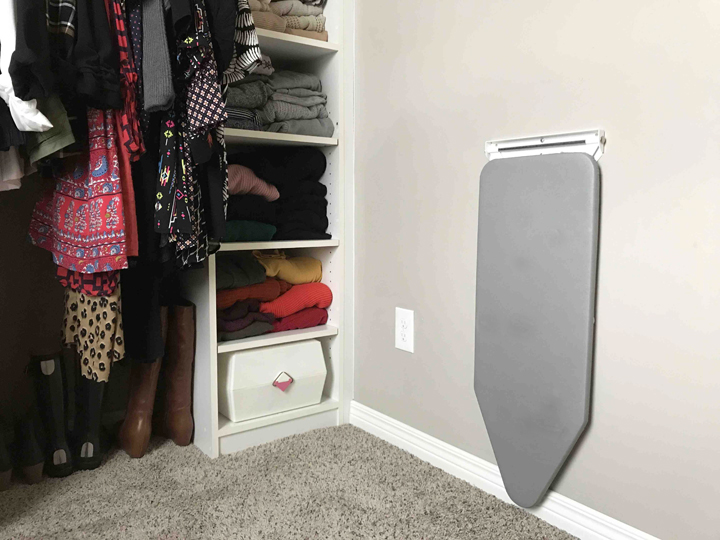
We iron our clothes in our closet. So I added a practical, though less pretty, ironing station. We used to have a free standing ironing board and it bit the dust. I originally wanted to replace it with a recessed ironing board, but the only wall that can house the ironing board backs up to the shower, and I was worried about the plumbing. After much searching, I landing on this compact wall mounted ironing board from Fold Down Pro on Etsy.
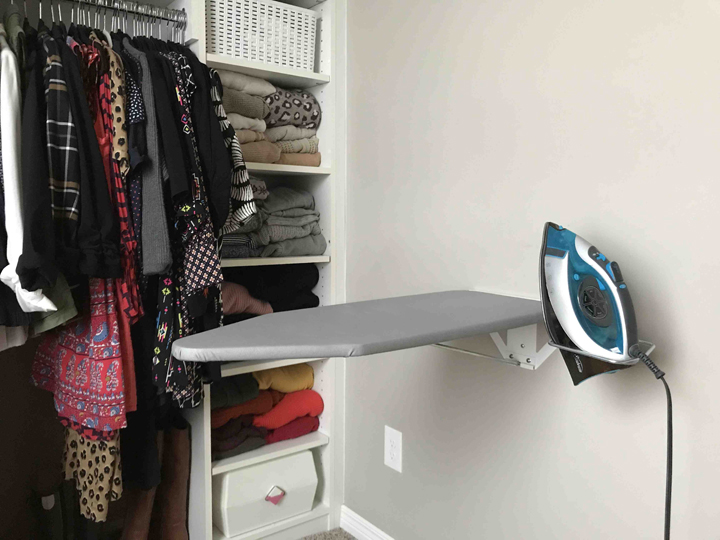
IT IS GENIUS. I love it! It was so easy to install and feels so sturdy. It folds down easily to open up the space. Who would have thought an ironing board would make me so excited? So now I have the steamer for delicates and this lovely ironing board, and another make-life-easier box has been checked off.
Well there you have it. All the little details that I added to our master closet and finally got it organized. Now, all I have to do is put everything back where it is supposed to go…baby steps.


Nicely done! I love the idea of adding valet rods!
Thank you!
Amie: Wow. You have given me some great ideas here and have inspired me to get going on my own closet…my next area to be *marie kondo’d*! I love that fold down ironing board idea and that low rack for catching hangers that need to be recycled.
Fabulous ideas! Thank you so much!
Thank you! Good luck on your project!
What a great way to organize and have less stress in your life.
Thank you!
Great tips! I especially love the valet rods. They are so helpful in a closet.
Definitely needed!
Great tips! I am going to take your advice and try the rainbow approach!
I think you’ll be happy you did!