Hello everyone! Thank you for following along as I work to make our old, messy and dysfunctional office space into a well planned and organized space – also know as a proper office.
You can look back on previous weeks below.
WEEK ONE | WEEK TWO | WEEK THREE | WEEK FOUR
You’ll notice I skipped over week four. The week had been very difficult to get into the office to work. My husband sometimes has numerous video calls – some back to back to back. These calls can take up several hours of time. Combine these issues with homeschool, deadlines for the ORC, and all the other things going on in the world and it culminated in one hot mess of a night.
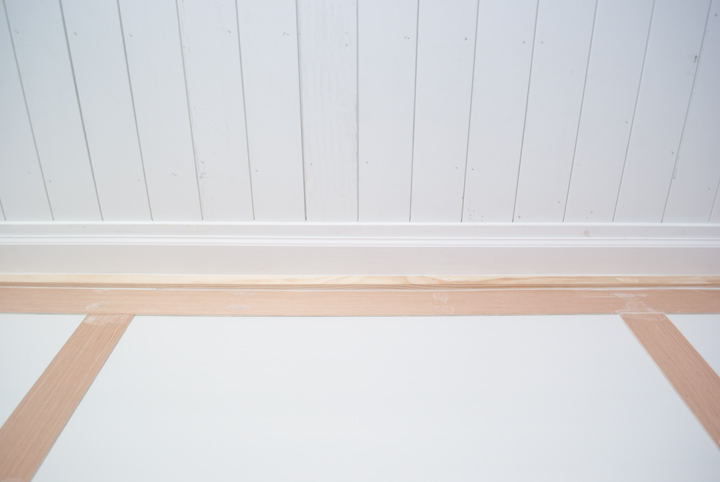
It was getting dark. I was racing the sun (since there’s no light installed yet). Feeling the pressure, I kept messing up the cuts on the last bit of finish moulding. Therefore, I was running out of wood, and I just cracked.
I was an absolute mess. My husband came in to check on me and was like “whoa, what’s going on?” Feeling tired and stressed, I finally stepped back and was like “what are you doing, Amie?” So, I stepped away and took a much needed break. I mean who cries over the One Room Challenge? Probably more people than we know. Full honesty over here!
After my little break, I got my head straight, and was finally able to finish the ceiling trim. Check it out!
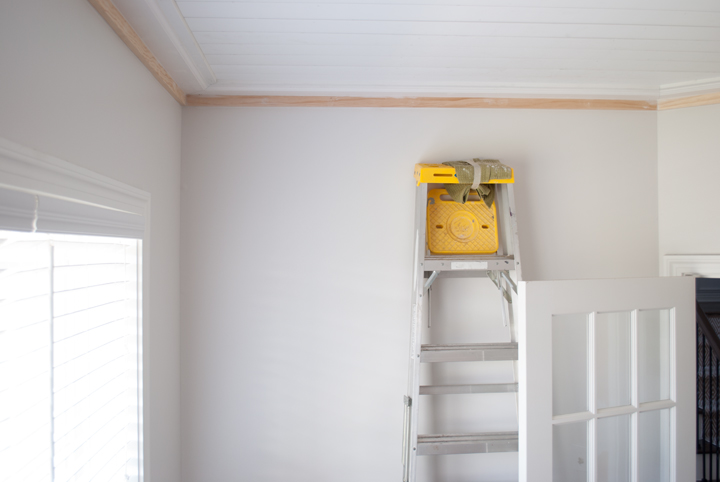
It’s gorgeous! Exactly what I was hoping for.
I had been mulling over what I wanted the ceiling finish trim to look like. Here are some of the looks I was considering.
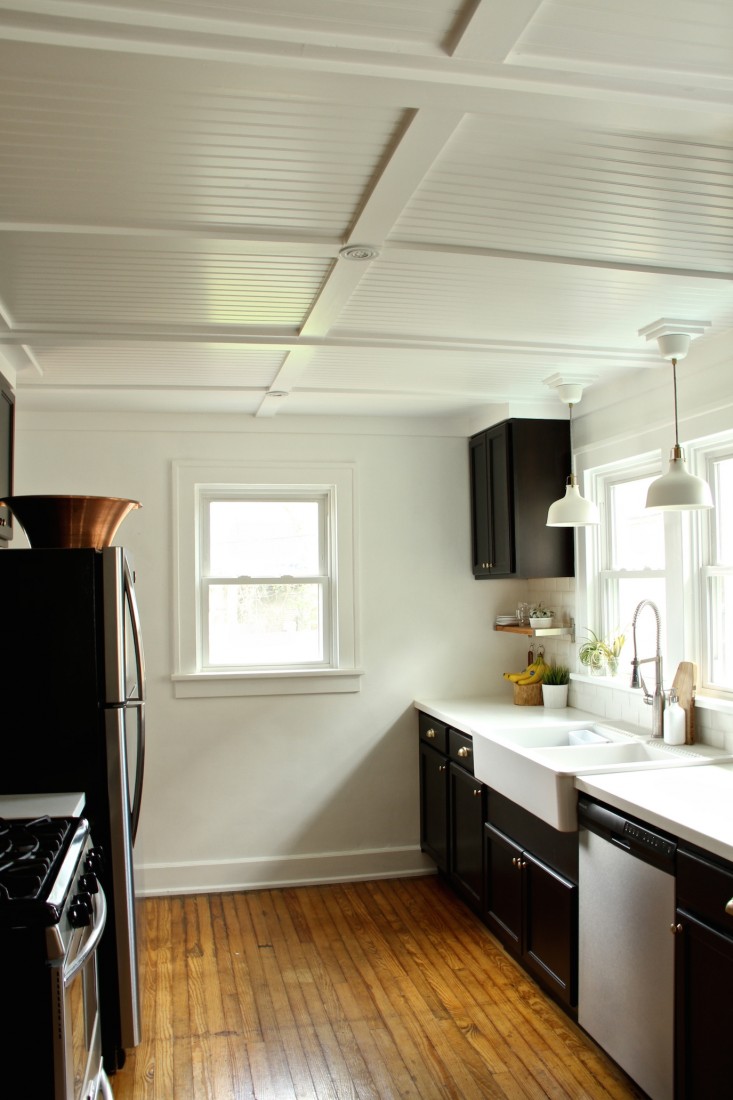
Ceiling Inspirations
Traditional crown moulding.
A mini crown.
Very simple and minimal trim.
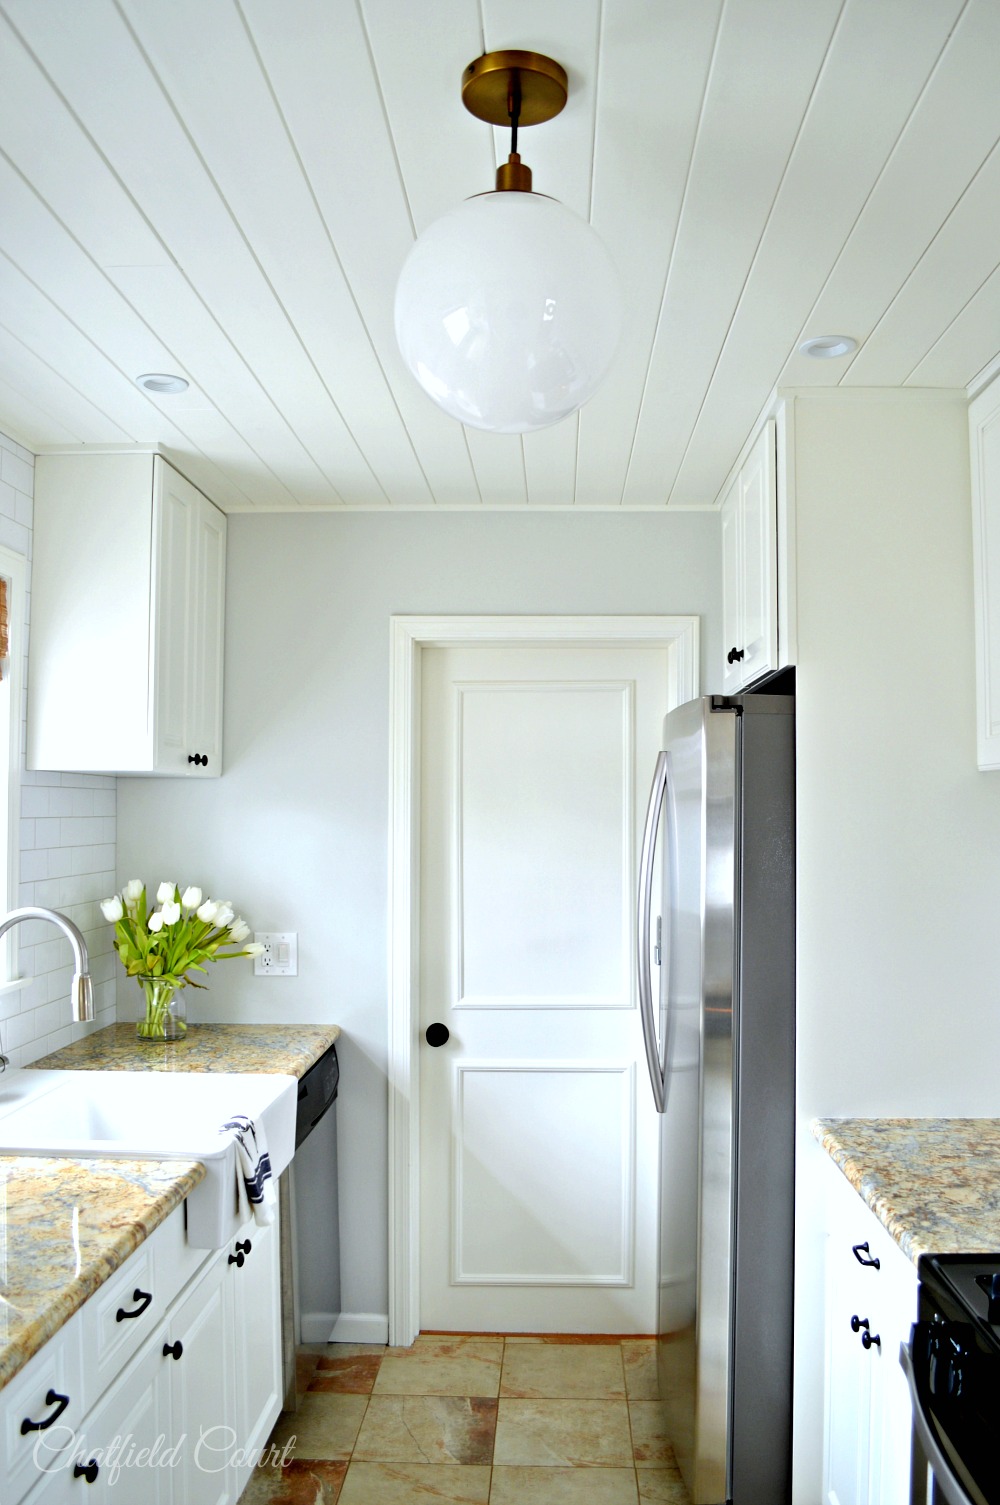
And finally, the layered look.
I was worried about attempting traditional crown moulding. It can be tricky. And learning a new technique in the heat of a One Room Challenge seemed worrisome.
So I landed on the layered look because it allowed me to use cuts I was already comfortable with. Bonus was that I really liked the look. It’s different. I REALLY like different.
Here is how I layered my moulding.
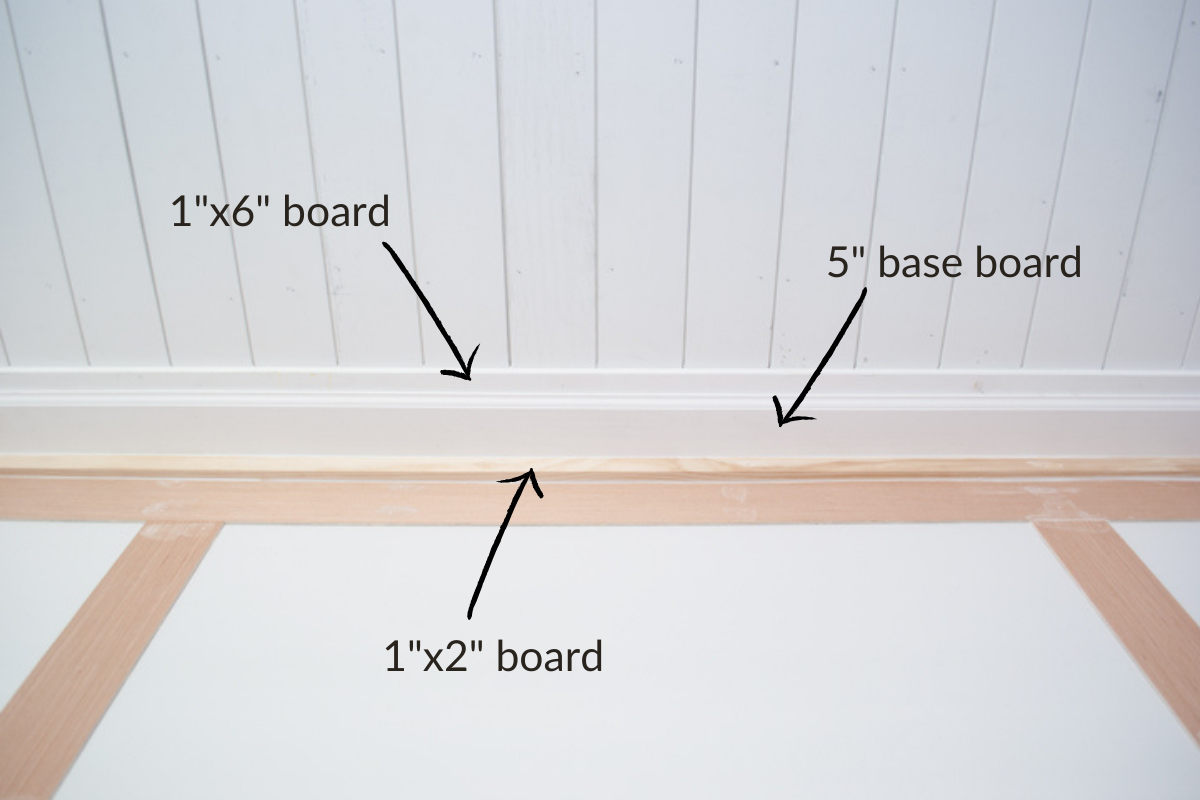
Now all I need to do is decide what color to paint it. I’m still undecided. So this final week is going to be a doozy. It should be a fun reveal!
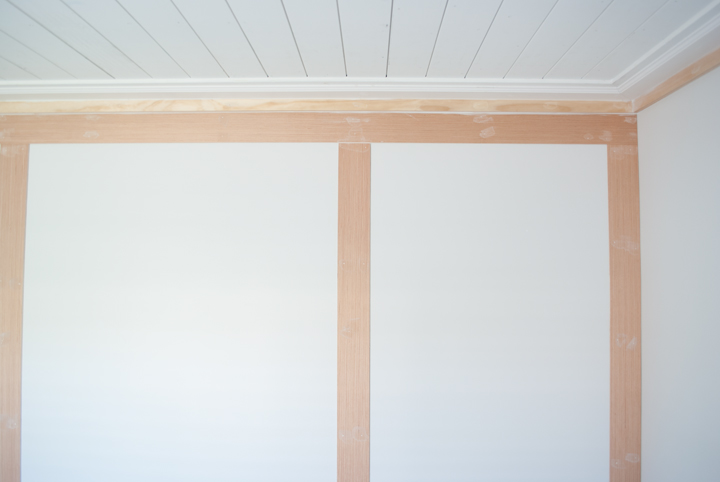
This week I was also able to get the feature wall of moulding done. It was not without a smidge of drama as well. Sigh.
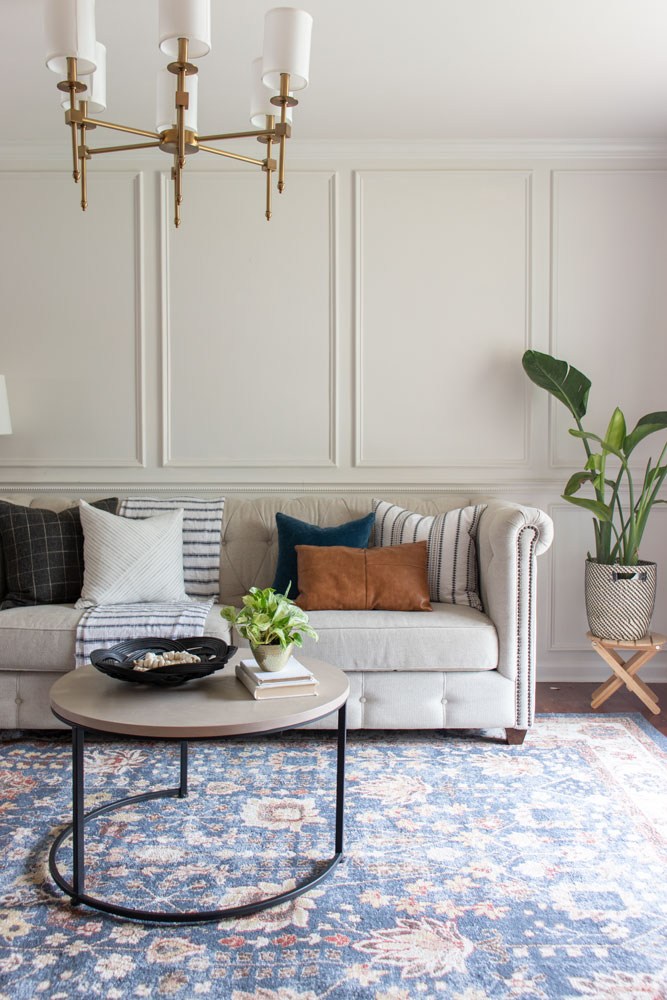
The original plan was picturing moulding. Similar to this.
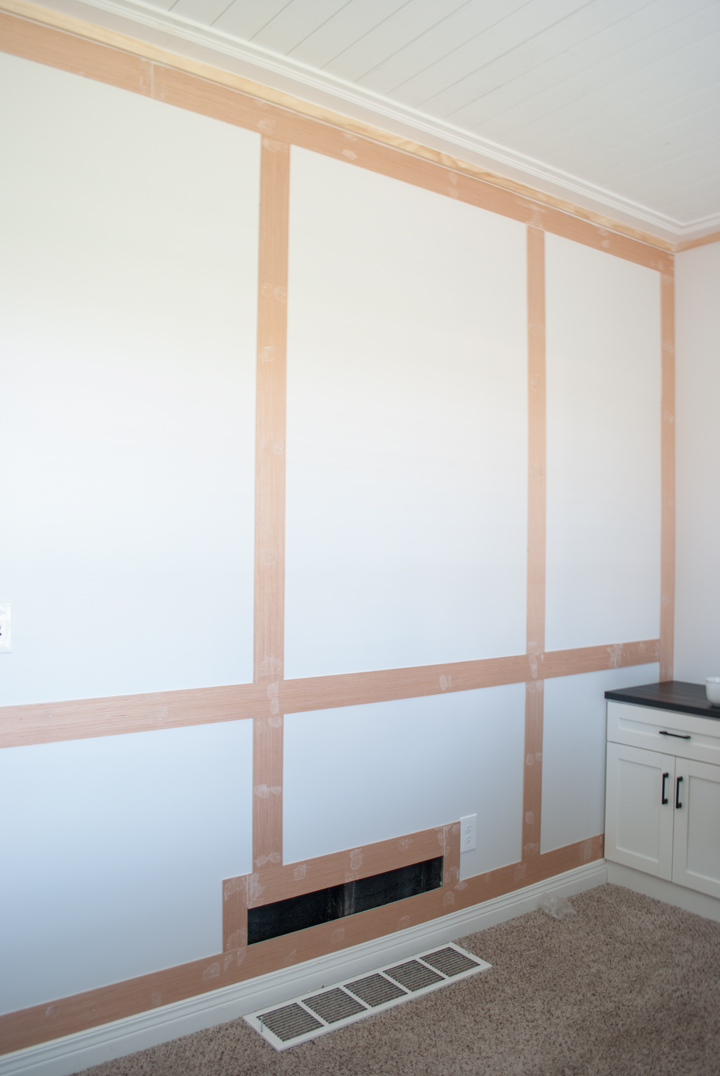
The Problem
But, when I went to start planning out the layout, I thankfully started over by the most difficult area, the desk. I had the level out and was marking my lines and planning how I wanted the moulding to wrap around the end of the desk. I needed a little visual, so I grabbed a board and held it up next to the drawer. OOPS. Can’t open the drawer. Palm to forehead. I had not thought of that.
So, back to the drawing board on the feature wall moulding. I stayed up late that night brainstorming ideas for how to accommodate such a small clearance.
The Solution
I was reminded of a project over at the lovely Thrifty Decor Chick. She used 1/4″ plywood cut into strips for a wall in her entry. And it was decided. This technique would still allow me to get the grid look I needed to highlight the artwork on the wall and clear the drawer.
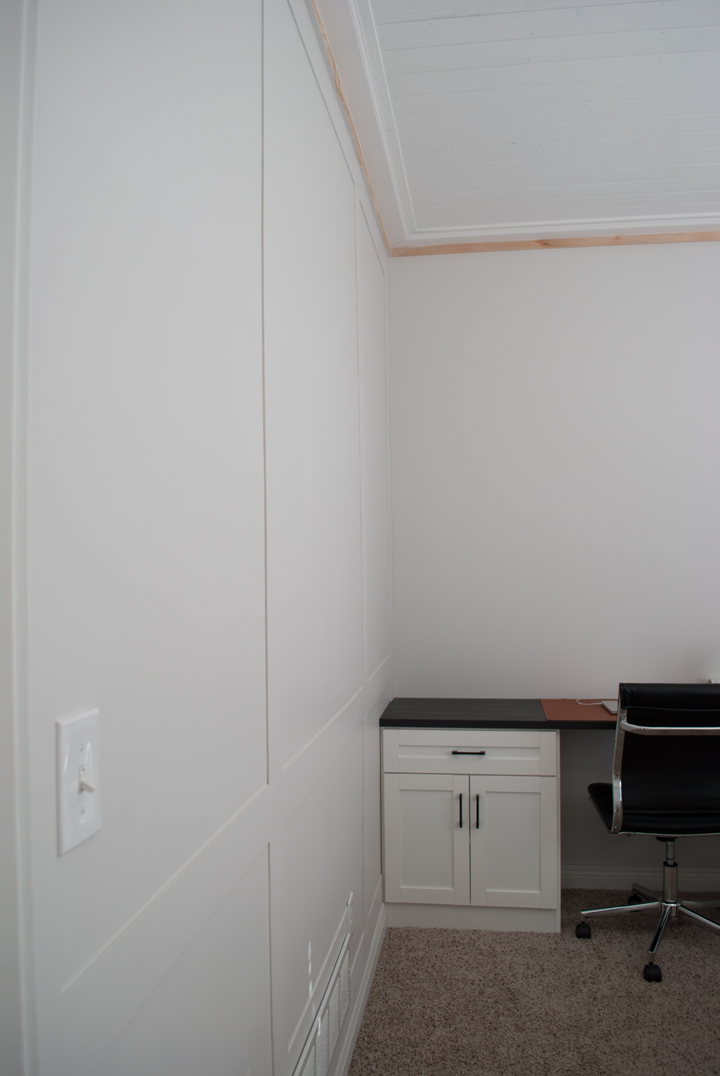
The moulding before painting.
And after. I love it. I honestly would rather have had the picture moulding, but this is a happy solution to my problem.
Well there you have it. A little drama. A little recovery. And a whole lot of finished wood work! Sometimes a break is just what is needed.
Come back next week for the reveal! It’s going to be a big one!
Check out and give some love to the other participants here.
![]()


I’m so intimidated by trim, and yours is so beautiful! Props!!
Thank you! You should give it a go! It’s not as hard as it seems.
Thank you! I love trim! It gets easier as you keep honing your skills:) Give it a try!